Happy Friday, y’all! Today I’m going to walk you through the step by step process of how I customized my iPhone home screen in iOS 14. I have to warn you, this is probably going to be a longer post than normal. It can be pretty time consuming to set things up, especially since most of the guides out there can be difficult to follow!
I’m going to include as many screenshots as possible. Hopefully, that way you can get an idea of how exactly to go about this. Before I begin, let me show you my own screen!
It has gone through a few different iterations, but I’m so happy with how customizing my iPhone homescreen turned out!
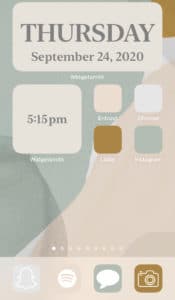


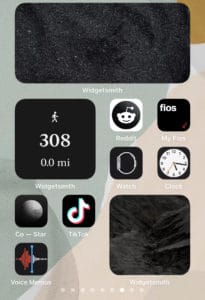
What I love about this iOS update is that you can customize your iPhone home screen by arranging things in a way that makes you happy. Color coding your apps isn’t exactly groundbreaking, but I included some screenshots of my favorite quotes, candies, flowers, and fruits to give me something to smile about when I look at my phone. Additionally, I really like that you can add widgets to emphasize the information you think is important – this isn’t perfect by any means, but I have found it useful! Finally, I appreciate that you can hide apps. As you can see, I have a LOT of apps, and I have even more of them hiding in my app library. I like hiding the ones I don’t use that frequently; doing so allows me to find the apps I use more frequently with greater ease.
Well, now that you have my thoughts on the update, let’s get started!
How To Make an Aesthetically Pleasing Home Screen in iOS 14
Supplies
- An iPhone with iOS 14
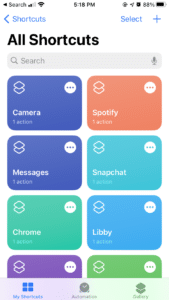
- Shortcuts
- Widgetsmith
- Canva – or your preferred image editing app
Before We Begin
Firstly, before you start customizing your iPhone home screen you need to decide how you want to set things up. Are you looking to add a few widgets not automatically offered by Apple, display pictures, or change the appearance of your apps?
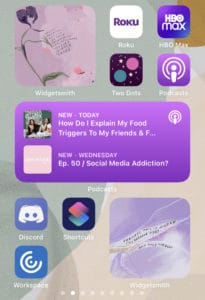
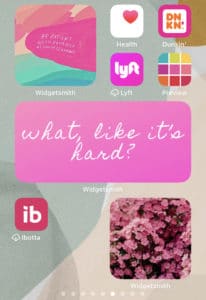
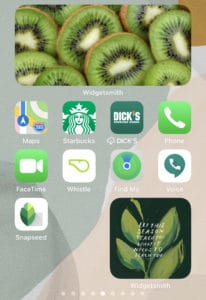
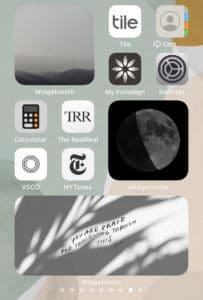
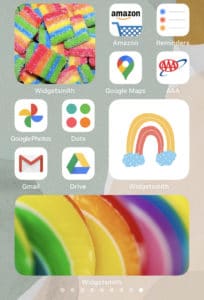
If you want to change the look of your apps (see the first image in the gallery above), you will follow the “Guide to Shortcuts” below. If you are looking to add widgets or images (see the other gallery images), you will follow the “Guide to Widgetsmith.” Are you looking to do both? You’ve come to the right place! You’ll need to follow both guides to fully customize your iPhone home screen. I recommend splitting your project up into one or more sessions, as it can take a while to get the hang of things.
Before you start working on either guide, you will need to select a colorscheme. I recommend finding an image you like on Pinterest and copying the picture into Canva. Once the image is there, You can make multiple sheets in your Canva project to serve as your new app icons. To do this, click on the “document colors” to select the colors that are most prevalent in your image. Once you have made sheets with all of the document colors, download the images to your phone. Voila! You are ready to get started.
Guide to Shortcuts
Now that you have all of your new icons, you can begin working on replacing your existing app icons with the new, prettier images. This guide will walk you through how to create a shortcut to open the Weather app. You would follow the same procedure for any other app
1. Open Shortcuts
2. Click “+” in the upper right hand corner
3. Click the ellipses in the upper right hand corner and name the app
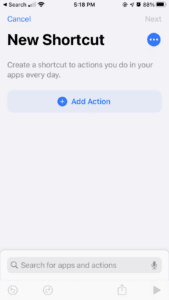
4. Click “Add to Home Screen”
5. Click the icon listed under the header “home screen name and icon”
6. Select one of the images you made – this will be what your app will look like on the homescreen
7. Name the app – sometimes the original name disappears on me at this point, so I usually need to rename it here
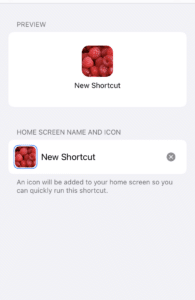
8. Click “Done” in the upper right hand corner
9. Click “Add Action”
10. Click “Scripting” then ” Open App”
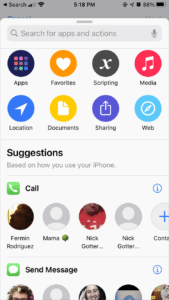
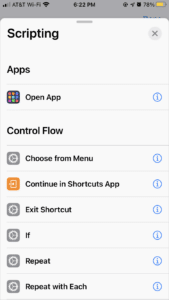
11. Choose the app you want to open – I chose “Weather”
12. Click “Done”
13. Marvel at your new app! Then, move your original weather app to your app library so you no longer see it.
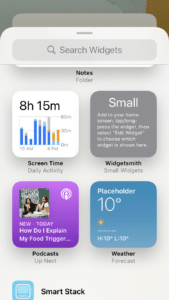
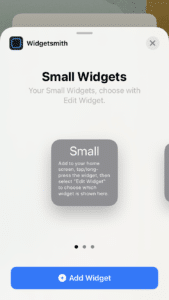
Guide to Widgetsmith
If you made it through all that, congratulations! Widgetsmith is actually super easy to use! Go through the following steps to make your widgets:
1. Open Widgetsmith
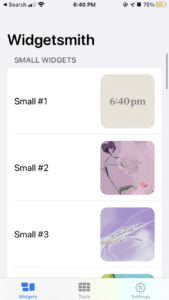
2. Select the size widget you want to create (I chose “add small widget)
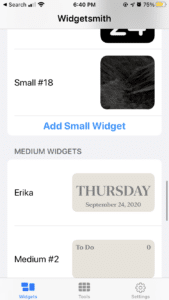
3. Select the new widget
4. Click on “default widget”
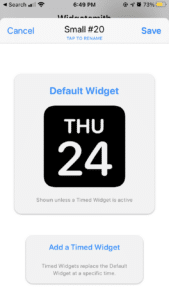
5. Select what you want your widget to be – I chose Photo to add a new image to my home screen

6. Click “selected photo” at the bottom of your screen
7. Click “choose photo”
8. Select an image from your camera roll – I chose tis one of sour candy!
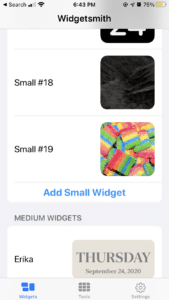
11. Scroll down and select the “widgetsmith” icon – it will automatically show “small,” but you choose this for any size widget you want to add.
12. Click “add widget.” The latest widget that you made will automatically pop up onto the last screen you were on! If you made several widgets all at once, no biggie! Click on the widget and select select a different widget from your widget list (how many times can I saw widget in a sentence?!).
13. Marvel at your cute new widget!
Whew, that was a lot! Let me know if you end up customizing your home screens! I am obsessed with seeing what everyone does with theirs, they are all so unique! If you want to organize a bit, but aren’t quite ready to take the plunge into home screens, check out my post on planner/notebook organization!
If you made it this far, I love you 🙂 Thanks for reading!

Leave a Reply